Shader SDK (MAC)
In this tutorial we will show how to setup Beam Shader SDK on Mac OS
The Shader SDK's current version can be characterized as an early developer preview, with a high possibility of encountering unusual issues and bugs.
Prerequisites
You will need a Python 3.x installed and available in the path (check by typing 'python' in the command line)
In addition, you will need XCode Command line tools. The command to install those is:
xcode-select --install
But please consult with official documentation for more details.
You will also need the following packages (I used brew to install those):
brew install openssl cmake ninja\
Also, set the OPENSSL_ROOT_DIR environment variable as follows:
export OPENSSL_ROOT_DIR="/usr/local/opt/[email protected]"
Building Shader SDK
- Clone Shader SDK repository from here: https://github.com/BeamMW/shader-sdk
- Open the Terminal application
- Change directory to the location of the shader-sdk and run:
./shade init
This will operation will install and build all the necessary components.
Here comes a small song and dance part that has to do with the fact that shader-sdk is still very raw
- Inside the shader-sdk folder create a 'bin' folder
- Copy shader-sdk/build/host/beam/bvm/sid_generator/generate-sid to the newly created bin folder
Creating a new Shader Project
- Open a Terminal and create a new folder for your Shader project. We will use 'vault' in our example
2. Set the following environment variables to point to the location of you shader-sdk and wasi-sdk:
export BEAM_SHADER_SDK=~/Code/shader-sdk
export WASI_SDK_PREFIX=~/Code/shader-sdk/wasi-sdk-14.0
3. Run the following command: shade create_project <project name>
In our case:
~/Code/shader-sdk/shade create_project vault
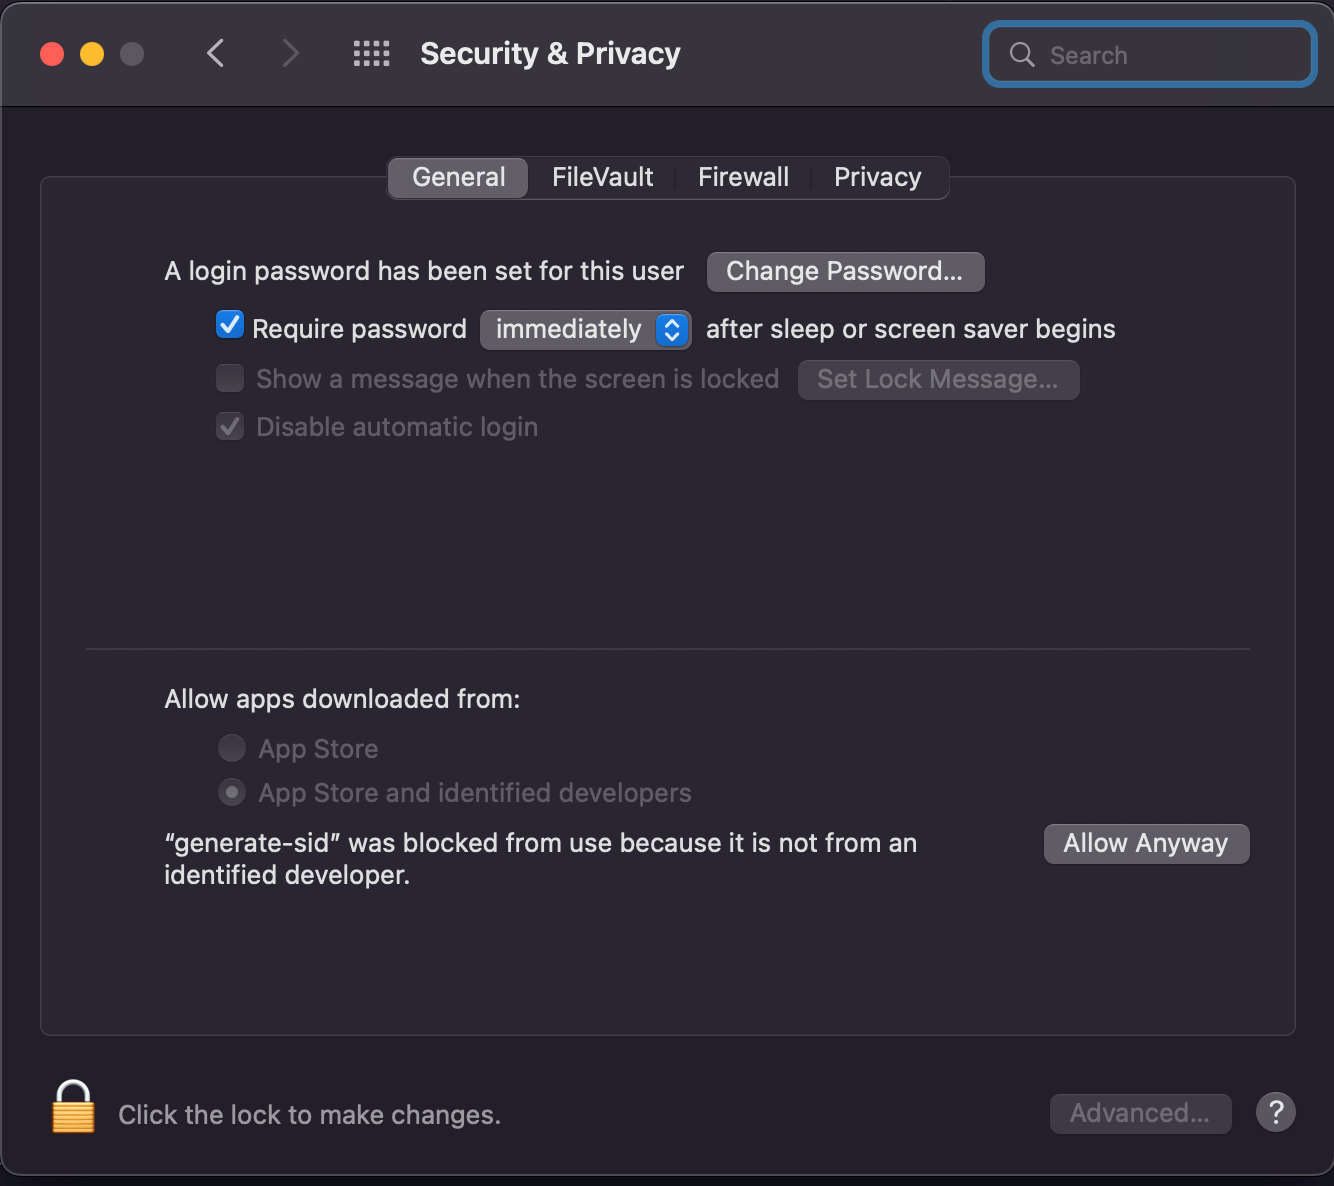
Here comes another issue. Your Mac is very likely to warn you about the fact that generate-sid application was not created by a certified developer
.png)
To avoid this you will need to allow running this script anyway from the Settings -> Security & Privacy dialogue and then rerunning the command
This will initialize the structure of the Shader project
Building the Shader Project
Inside the project folder run the following command:
cmake -G "Ninja" -DCMAKE_BUILD_TYPE=Release -DCMAKE_TOOLCHAIN_FILE=$WASI_SDK_PREFIX/share/cmake/wasi-sdk.cmake -DCMAKE_SYSROOT=$WASI_SDK_PREFIX/share/wasi-sysroot -DWASI_SDK_PREFIX=$WASI_SDK_PREFIX -DCMAKE_CXX_COMPILER_FORCED=True -DCMAKE_C_COMPILER_FORCED=True -DCMAKE_SYSTEM_NAME="WASI"
Then run:
ninja
And the .wasm files with compiled contracts will be generated in the /shaders folder
Now you are ready to start coding your Shader!